Scenarios Management
The Scenarios Management section allows you to handle different environments for your valuation and projection runs. You can create, copy, delete, and advance scenarios to organize your work effectively.
Creating a New Scenario
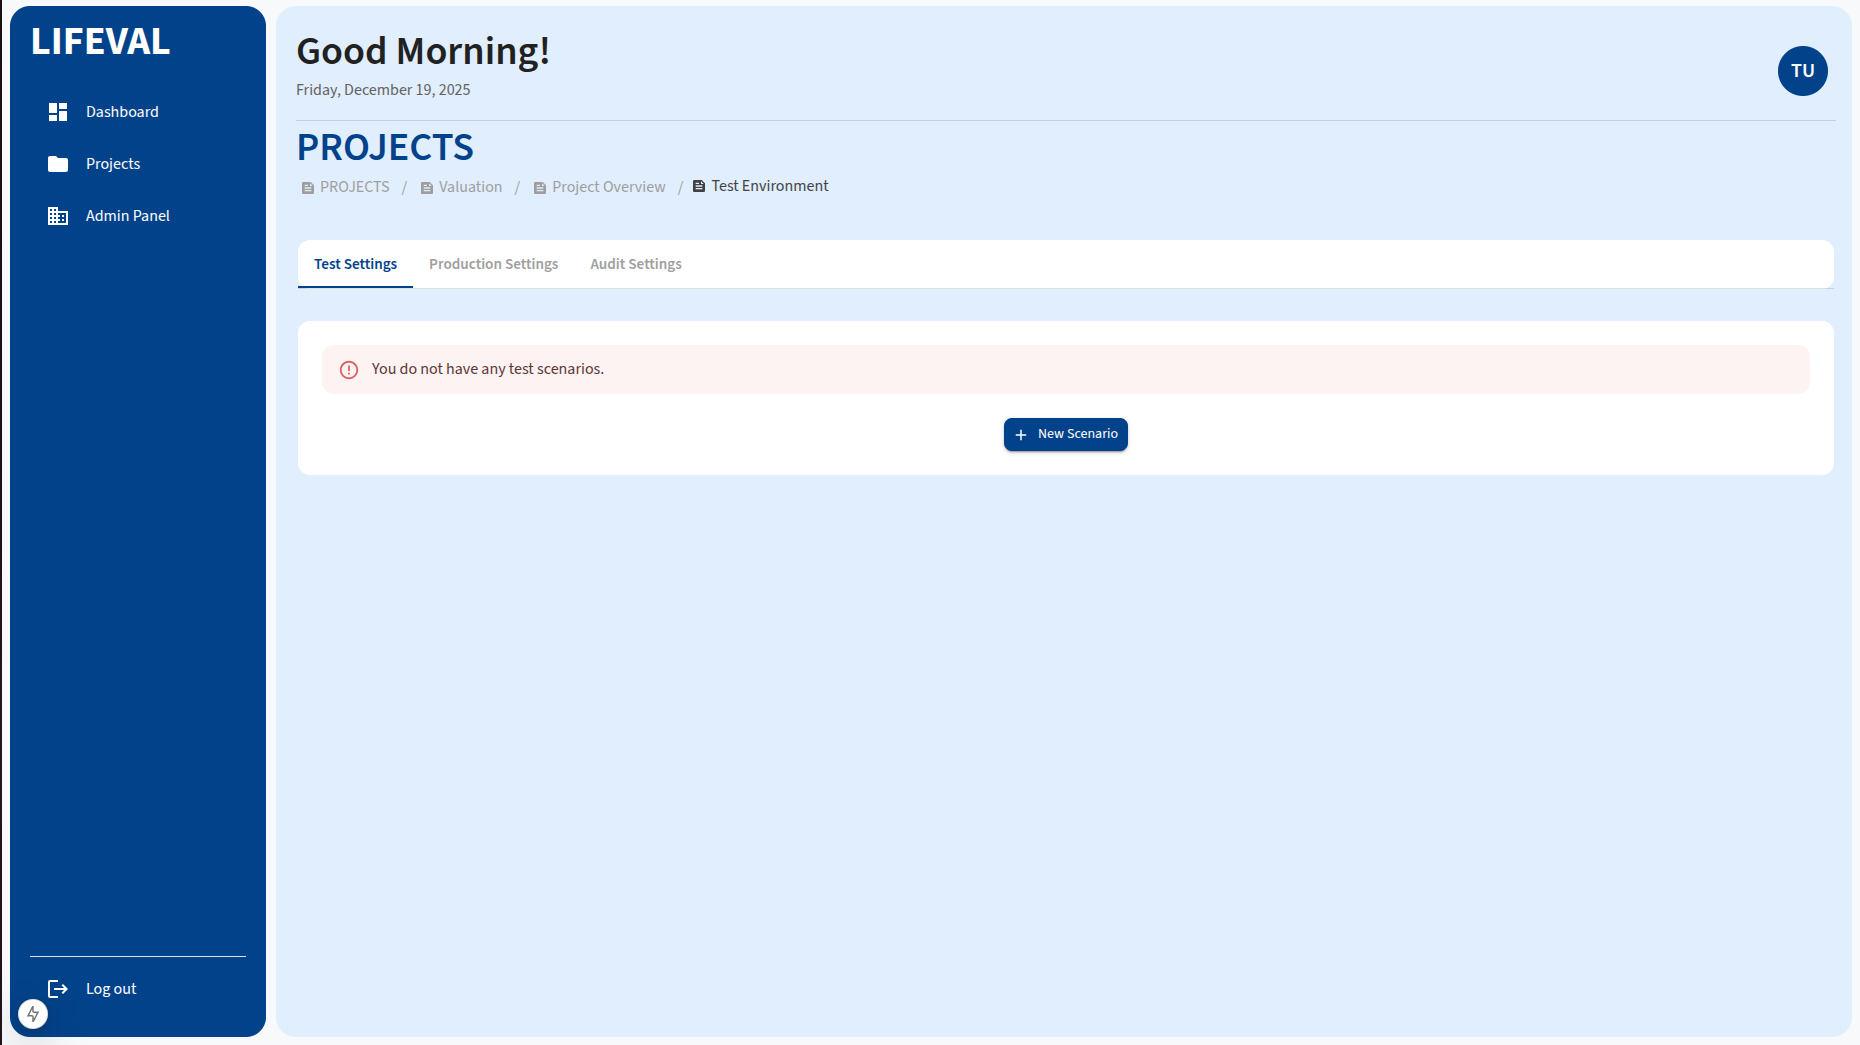
To create a new scenario:
- Navigate to the Projects page and open your project dashboard.
- Locate the Workspace card.
- Click the + (Add) icon next to the scenario type you wish to create (e.g., Test, Audit, Production).
- The system will initialize the new scenario environment.
- Click the New Scenario to add a new scenario.
Copying a Scenario
You can duplicate an existing scenario to create a starting point for a new analysis.
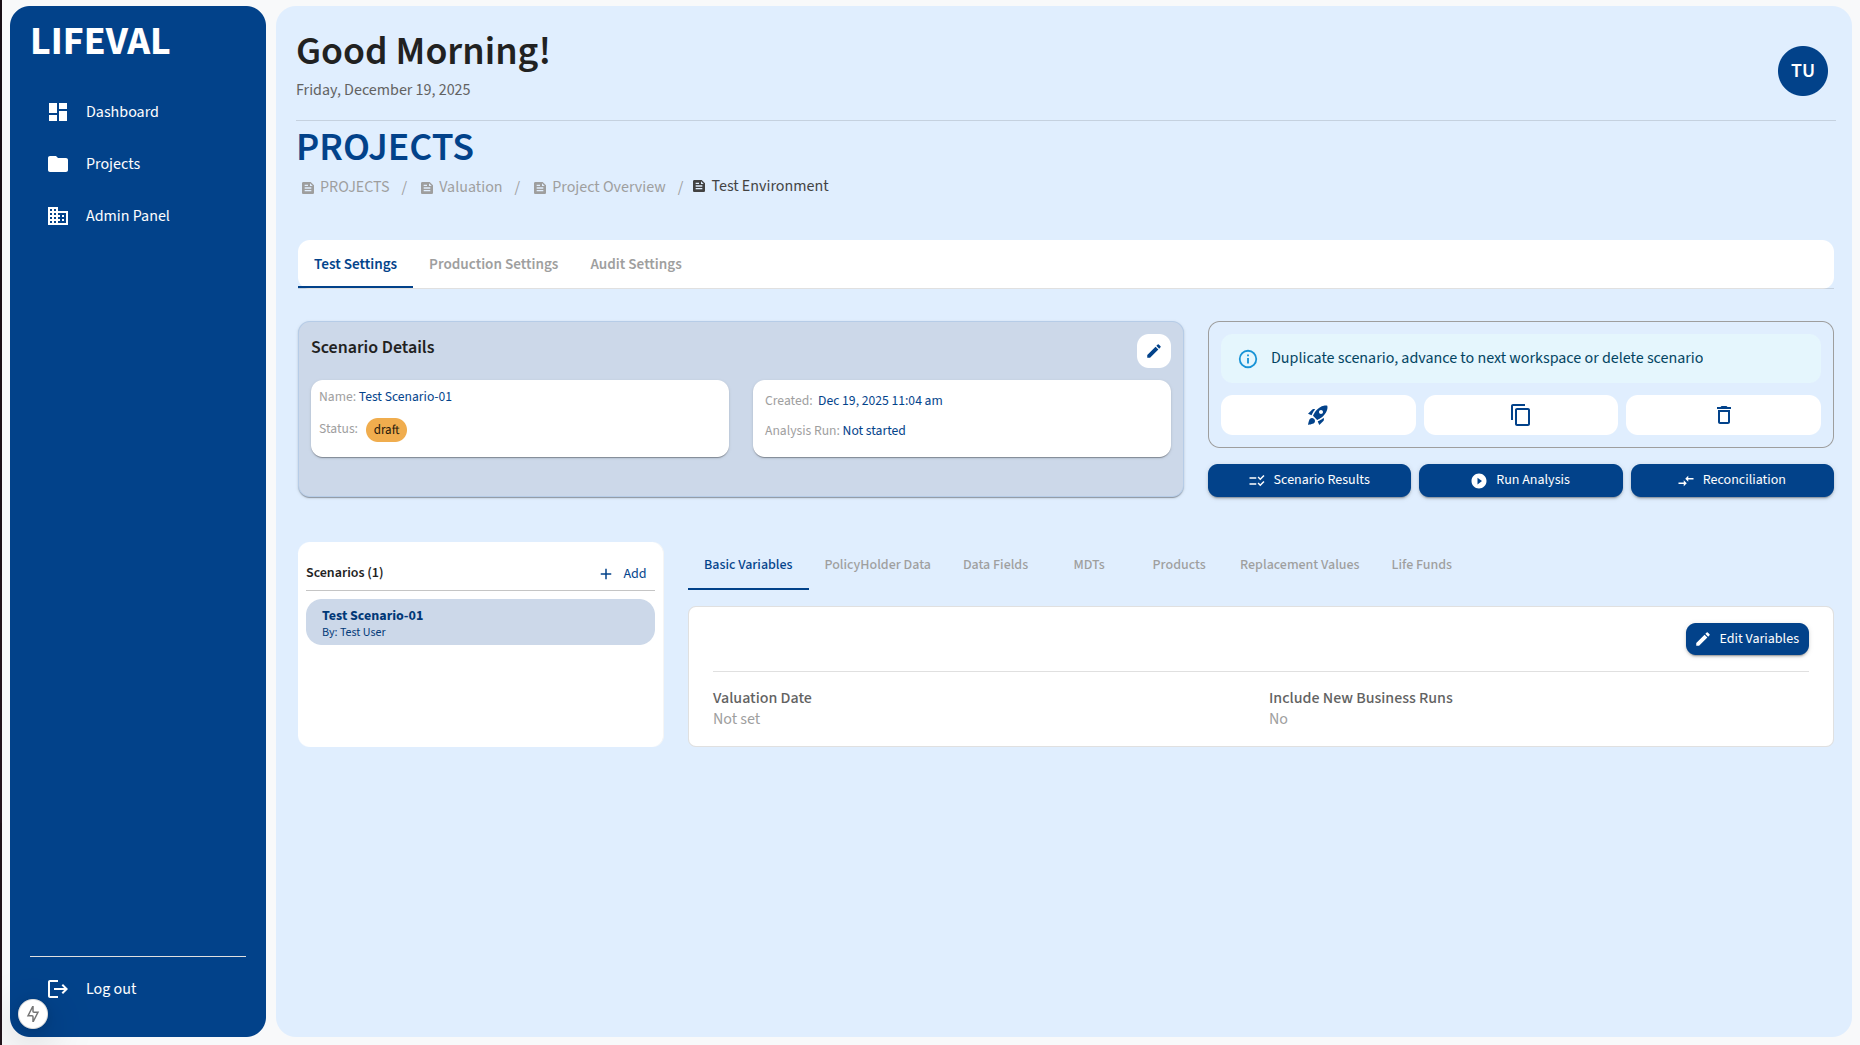
- In the Workspace card, locate and click the scenario you want to copy.
- Click the Duplicate icon (represented by two overlapping sheets).
- Enter a name for the new scenario when prompted.
- Confirm the action to create the copy.
Deleting a Scenario
If a scenario is no longer needed, you can remove it.
- In the Workspace card, find the scenario you wish to delete.
- Click the Delete icon (trash can).
- A confirmation dialog will appear. Warning: This action is irreversible and will remove all data associated with the scenario.
- Confirm the deletion to remove the scenario.
Advance to Next Workspace
You can promote a scenario from one environment to the next (e.g., from Test to Audit, or Audit to Production).
Rules for Advancing Workspaces
- Test Workspace: You are limited to a maximum of 10 runs in the Test environment.
- Audit Workspace: Once a scenario is in Audit, you cannot re-run the analysis or edit the settings. It is a frozen state for verification.
- Production Workspace: You cannot upload specific files directly in Production. All data must come from the approved Audit scenario.