Product Design
The Product Design module enables actuaries to design and price new insurance products.
Accessing the Module
To access the Product Design module:
- Navigate to the Projects page.
- Locate the specific project on 'All' tab, or filter by clicking 'Product Design' tab.
- Click on the Launch icon (arrow) to open the specific Project Dashboard.
- Locate the Workspace card on the left side (Test, Production, Audit) and launch either of them.
- Select the specific Scenario or add a first scenario.
Module Tabs
The Product Design module is organized into the following tabs:
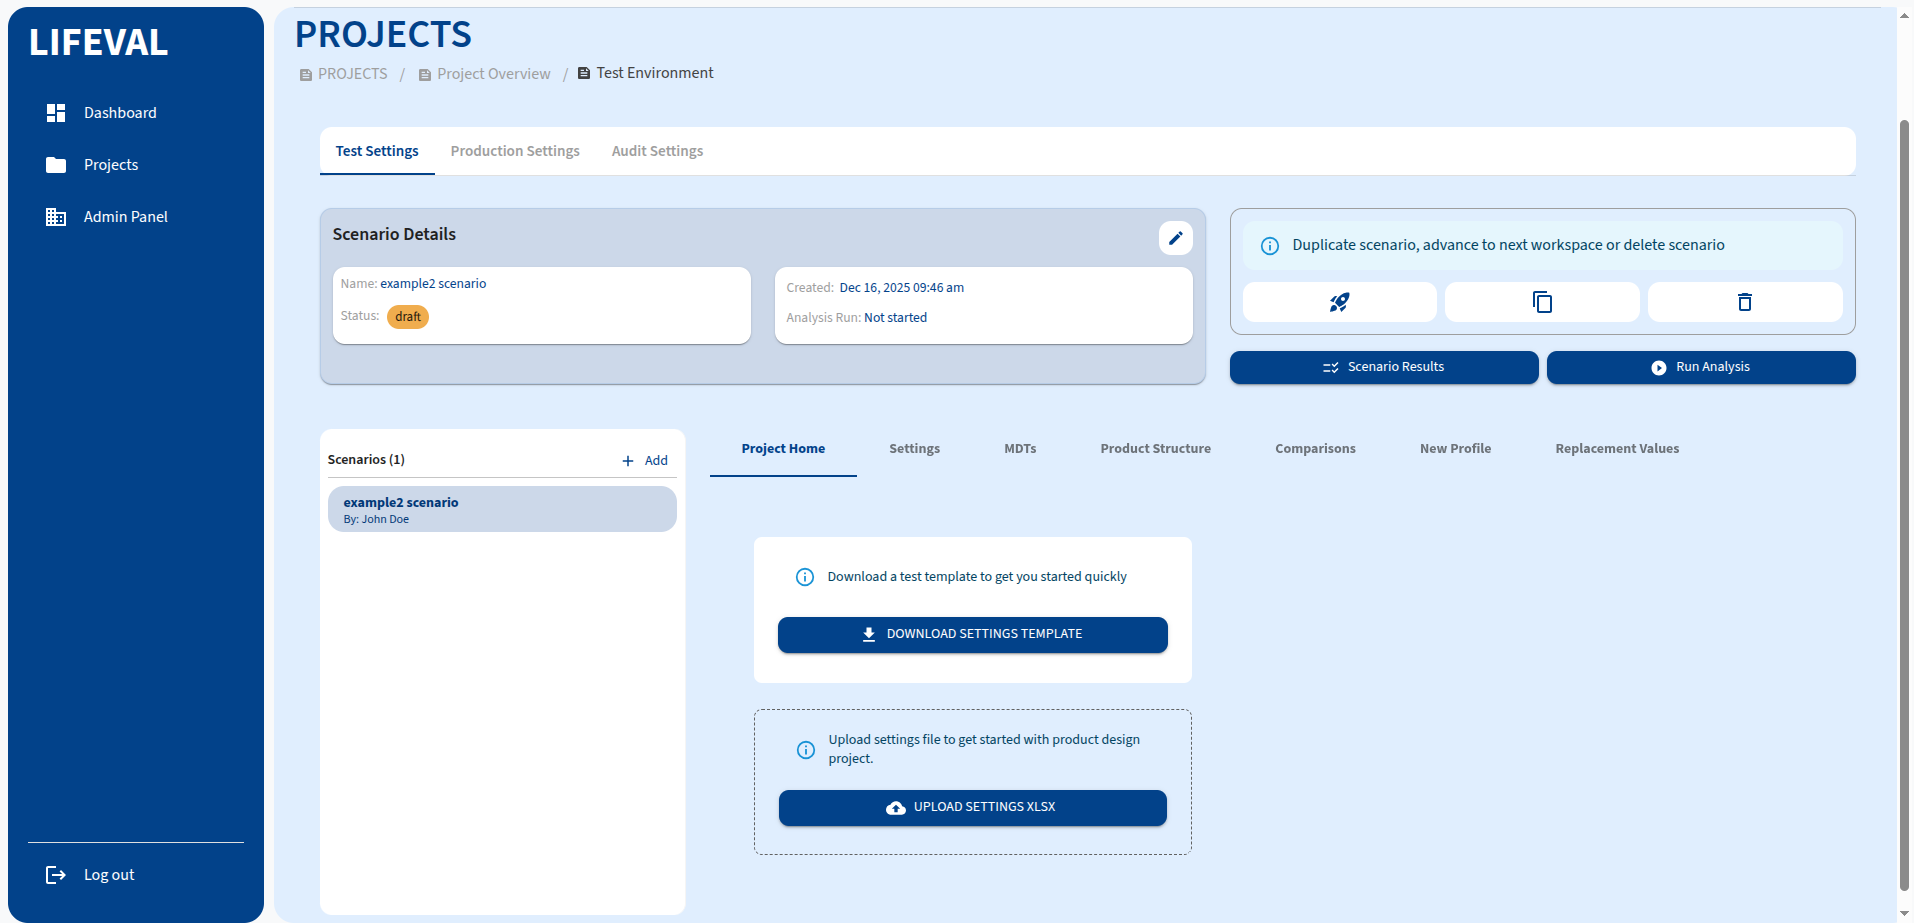
Project Home
The landing page for the scenario, providing an overview of the current design status. From here, you can manage your project settings file:
- Download Settings Template: Click this button to download a pre-formatted Excel template (
settings.xlsx). This template contains the necessary structure for defining your product variables. - Upload Settings: Click this button to upload a completed settings Excel file. This allows you to bulk-import or update your product design variables.
Settings
Configure the fundamental variables for your product design. This section is often organized into variable groups.
MDTs (Multi-Decrement Tables)
Manage the decrement tables used in your pricing models, such as mortality and lapse rates.
Product Structure
Define the structural components of your product, including benefits, premiums, and charges.
Comparisons
Compare different product versions or scenarios to analyze the impact of changes.
New Profile
Create and manage specific model points or profiles for testing your product design.
Replacement Values
Set default values for data points to ensure model stability when inputs are missing.
After configuring the settings:
- Click the Run Analysis button to execute the product design run.
- Monitor the output in the Scenario Results tab.